Complete Guide to ID Photo Specifications for Japanese Visa Applications
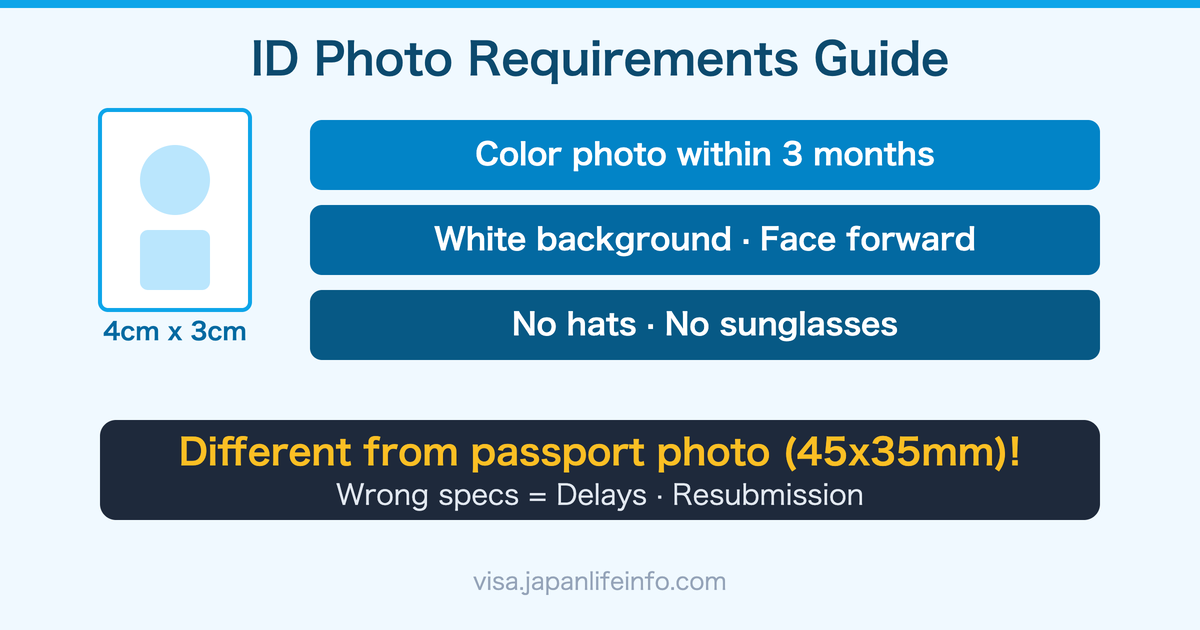
One of the most common mistakes when applying for a status of residence (visa) in Japan is ID photo specifications. If the photo does not meet the requirements, your application may be delayed or you may be asked to resubmit. Be sure to prepare your photo correctly.
1. Photo Size and Basic Specifications
Required Specifications
- Size: Height 4cm × Width 3cm
- Date taken: Photo taken within the last 3 months
- Color: Color photo
- Quantity: 1 photo per application form (may vary depending on application type)
Points to Note
- Note that this is different from Japanese passport photos (45mm × 35mm), so be careful not to confuse them
- It is also different from My Number Card photos (45mm × 35mm)
- Since this is the same photo printed on your residence card, prepare a sharp, clear photo
| Document | Photo Size | Notes |
|---|---|---|
| Status of Residence Application | Height 4cm × Width 3cm | The specifications described in this article |
| Japanese Passport | Height 4.5cm × Width 3.5cm | Different from status of residence application photo |
| My Number Card | Height 4.5cm × Width 3.5cm | Same specifications as passport |
| Driver’s License | Height 3cm × Width 2.4cm | Smallest size |
2. Photography Conditions
The following criteria must all be met.
Background
- Plain background (white or light solid color)
- No shadows, patterns, furniture, or other objects visible
- Gradient backgrounds are also not allowed
Face
- Facing directly forward: Look straight at the camera
- Neutral expression: Natural expression (mouth closed)
- No hats: Hats and head coverings not allowed except for religious reasons
- No sunglasses: Medical eye patches are also not allowed
- Eyes, nose, and chin must be clearly visible: Face must not be covered by hair
Face Size Ratio
- From the top of the head to the bottom of the chin approximately 2.7cm to 3.0cm (approximately 70% of the photo height)
- Centered in the photo
- Approximately 2–6mm of space above the top of the head
3. Can I Wear Glasses?
Regular glasses are allowed, but the following cases are not permitted:
- Strong light reflection on the lenses
- Eyes obscured (e.g., thick frames)
- Tinted lenses (including sunglasses)
- Shadows around the eyes
Recently, the Immigration Services Agency recommends taking photos without glasses if possible, in order to improve the accuracy of facial recognition systems.
4. Notes for Digital Photo Submission
When applying online (the online residence application system) or submitting data, additional specifications apply.
File Specifications
- File format: JPEG
- File size: 300KB or less (recommended)
- Resolution: At least 600 × 800 pixels
Digital Photo Notes
- No background removal: Photos with a transparent or composited background are not accepted
- No excessive retouching: Skin retouching, facial contour changes, eye size adjustments, etc. are not allowed
- No filters: SNS filters, whitening filters, etc. are not allowed
- Resolution must be clear: Blurry or noisy photos will be rejected
Since recent Japanese immigration screening uses facial recognition systems, excessive editing can cause problems at immigration. Use a photo that looks the same as you do in person.
5. These Photos Will Be Rejected
Photos that fall under the following categories will be rejected or you will be asked to resubmit.
| Reason for Rejection | Description |
|---|---|
| Photo older than 3 months | Photo taken more than 3 months ago |
| Exaggerated expression | Unnatural expressions such as smiling or frowning |
| Hair covering eyes | Bangs must not cover the eyes |
| Cropped from a snapshot | Cropped everyday photos are not acceptable |
| Submitted in incorrect passport photo dimensions | 4.5cm × 3.5cm is not suitable for status of residence applications |
| Insufficient resolution | Photo that would be blurry when printed |
| Excessive retouching | Photo that does not look like you in person |
| Shadows | Photo with shadows on the face or background |
6. Where Should I Take My Photo?
Option 1: Automated Photo Booths in Japan (証明写真機)
Automated photo booths installed near train stations, shopping malls, and government offices.
- Cost: ¥700–¥1,000
- Time: Approximately 5 minutes
- Advantages: Quick and convenient. Most offer 4cm × 3cm selection
- Disadvantages: Limited control over lighting and background
Major automated photo booth brands: Ki-Re-i (DNP), Photo-Me, 富士フイルム
Option 2: Photo Studio (写真館)
For more precise specifications or for important applications such as permanent residence or naturalization, a professional photo studio is recommended.
- Cost: ¥1,500–¥3,000
- Time: Approximately 15–30 minutes
- Advantages: Lighting, background, and posture can be adjusted. High specification accuracy
- Disadvantages: Higher cost and may require an appointment
Option 3: Take at Home and Print at a Convenience Store
Since modern smartphone cameras have good image quality, taking your own photo and printing it at a convenience store is the most cost-effective method.
- Cost: ¥30–¥200 (convenience store printing cost only)
- How to take the photo:
- Take the photo in front of a white wall under natural light or bright indoor lighting
- Position the camera at eye level and shoot straight on
- Edit the photo to the correct specifications using an ID photo app (e.g., 「証明写真アプリ」)
- Use the photo printing service at a convenience store (Seven-Eleven, Lawson, FamilyMart)
Recommended apps: Free apps such as 「証明写真アプリ」 and 「パスポート写真」 allow you to select the 4cm × 3cm format.
Practical Tips
Administrative scrivener offices frequently receive correction requests due to photo specification errors.
Photo review is particularly strict for the following applications:
- Permanent residence applications: Since the photo is used on the residence card for a long period, clarity is important
- Change of status of residence: Since a new residence card is issued, specifications must be thoroughly confirmed
- Dependent visa applications: Photos are required for all family members, so children’s photos must also meet specifications
Additional Tips
- Prepare 2–3 extra photos in case additional documents need to be submitted
- Keep the digital original data, as it can be used for online applications
- Given the 3-month validity period, it is best to take the photo immediately before submitting your application
Conclusion
In Japanese status of residence applications, the photo is not just a formality — it is a key element for identity verification. A small mistake can affect the entire review schedule, so be sure to follow the specifications above when preparing your photo.
For the full flow of the status of residence application process, see Status of Residence Application Process Guide.
Reference Links
Need to apply for or change your status of residence in Japan?
Easily create your Japanese status of residence application.